+63 917 655 3148
Makeup by Liz Blasquino
  • HOME
  • PORTFOLIO
    • BEAUTY
    • BRIDAL
    • DEBUT
    • NO MAKEUP LOOK
    • ARTISTIC
    • MEN
  • ABOUT
  • BLOG
  • RATES
    • STANDARD RATES
    • BRIDAL PACKAGES
    • DEBUTANTE PACKAGES
    • MAKEUP CLASSES
  • CONTACT

Inglot Duraline: An amazing all-in-one product

4/24/2014

0 Comments

 
I was on a hunt for a solution to resurrect my gel liners. You see, I own different gel liners from different brands. And whether or not they're expensive, they all end up getting dried up. I've seen and tried different ways to revive gel liners but all failed! Here are some of the things I've tried:

  1. The heating method - This is when you apply direct heat onto the product using any of the ff: blower, hair iron, microwave. This made my MAC fluidline worst! :( But it slightly worked for my Maybelline one but was only okay for a good 4 or 5 days.
  2. Using eyedrops - You put a couple of drops of Eye-mo or Visine - the classic one. It's meant to bring moisture back to product. This method didn't work too! 
  3. Using a silicone based primer - This one worked the best but didn't last long - a week I think. And I find that it diffuses the pigmentation of the product. Sigh.
Picture
Picture
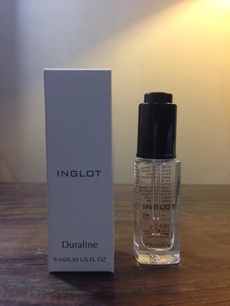
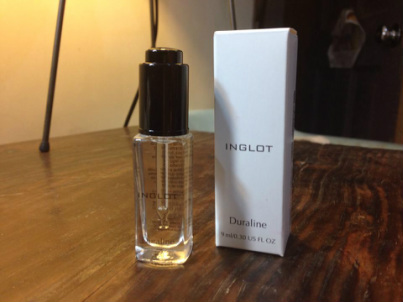
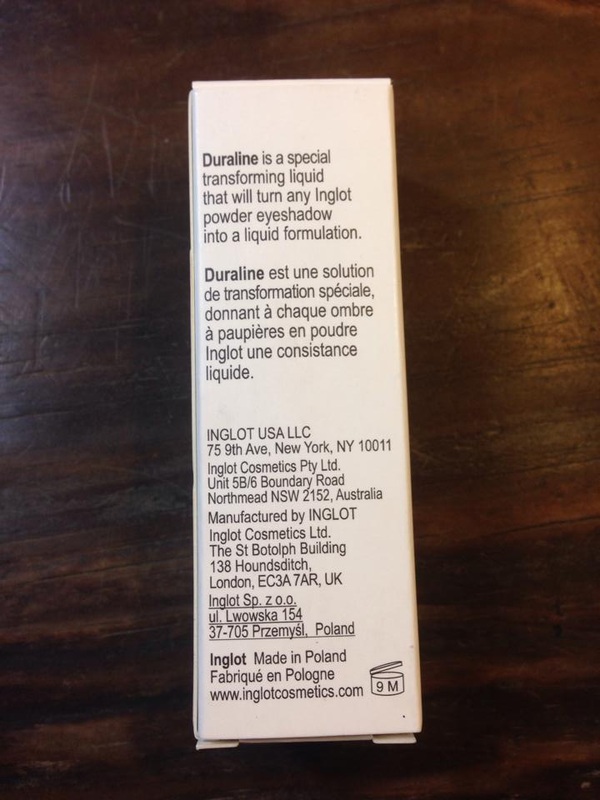
And because I am persistent like that, I came across the Inglot Duraline. Duraline is a special transforming liquid that will turn any Inglot powder eyeshadow into a liquid formulation. This product comes in a 9 ml (.30 us fl oz) glass bottle with a push-button dropper. If I remember correctly, I got this for Php 799 at the Inglot Store in Glorietta 5.I am no chemist but I went a little geek-y to check the ingredients , so here is the breakdown:

Picture
Picture
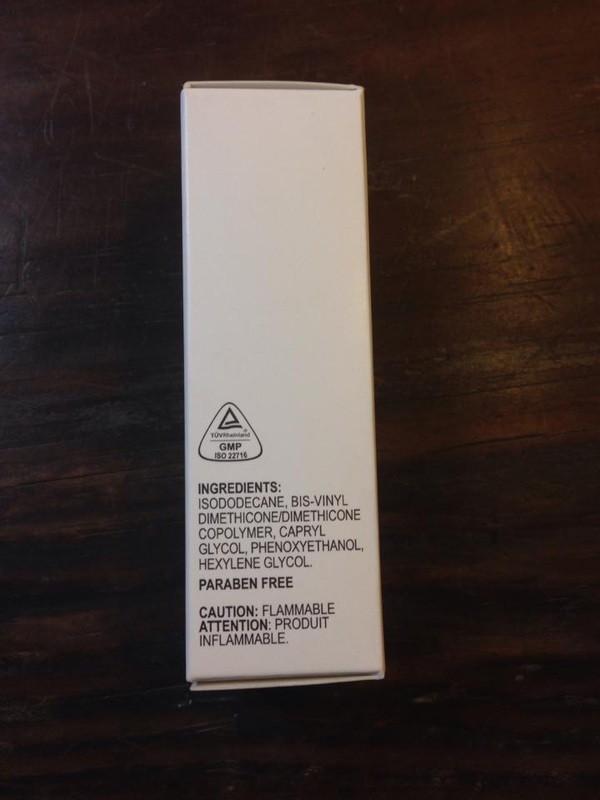
ISODODECANE - Hydrocarbon ingredient used as a solvent. Isododecane enhances the spreadability of products and has a weightless feel on skin. All hydrocarbons used in cosmetics help prevent the evaporation of water from the skin.
BIS-VINYL DIMETHICONE/DIMETHICONE COPOLYMER - The novel copolymer provides the formulation chemist with an alternative to crosslinked silicones for developing aesthetically pleasing cosmetics while minimizing patent concerns
CAPRYL GLYCOL - Skin-conditioning agent that may be plant-derived or synthetic. Often used as part of a preservative blend with phenoxyethanol and chloroxylenol, two preservatives that meet current global regulations.
PHENOXYETHANOL - In the cosmetics industry, Phenoxyethanol is used as a stabiliser in perfumes and as a preservative.It’s an oily, colourless liquid that belongs to the family of the glycol ether.
HEXYLENE GLYCOL - small molecular weight surfactant.

In all honesty, I don't know what good that brought (nosebleed!). Remind me not to be geek-y again because clearly I am not! Kidding aside, it helps in adding moisture back to the product, also the silicone hence improving the consistency of your dried up gel liners.

If you are wondering how I revived those gel liners, read on..

What you'll need:
Picture
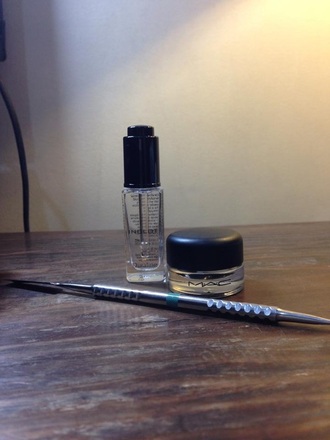
  • A dried up Gel Liner, pain pot, cream liner, etc
  • Spatula or anything that you can use to mix the product
  • Of course, Inglot Duraline
Picture
Add 2 to 3 drops of Duraline directly into the product.
Picture
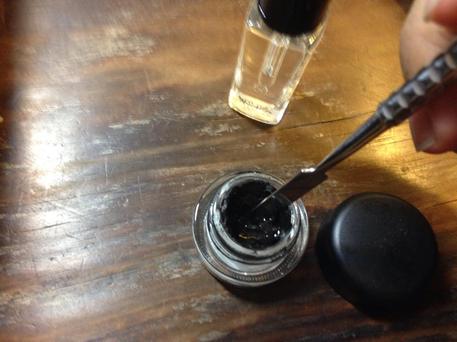
Using your Spatula, mix the product really well. Make sure to break down all the clumps from the gel liner. Feel free to add more drops depending on how dehydrated your gel liner is.
Picture
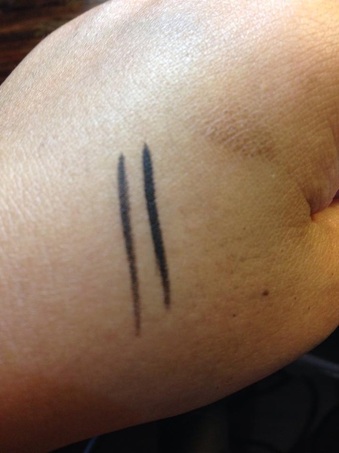
Get a brush and test if the consistency is good enough for you.
What I liked most about this product is that it has intensified the pigmentation of my gel liner. Aside from reviving your gel or cream based products, you can also use it to turn any eyeshadow to a liquid liner. I tested it using my Urban Decay Vice Palette and it works like a charm. It also made it water and budge proof.

I am absolutely in love with this product and if I ever ran out of it, I am sure to repurchase.
0 Comments

How to: LipstickĀ Palette

2/21/2014

1 Comment

 
A few months back, I posted a how to on depotting an eyeshadow. This time around, I decided to do the same for my lipsticks. Mind you, I tried and tried and tried to delay it because the thought of cutting the lipstick off the tube seems like cutting a finger (okay maybe that’s too much but you get the picture).

One of the many reasons why I did it is because it’s a pain to rummage through every lipstick when I am on a gig. I also tend to forget some of the lipstick I own as they are just sitting on my kit.

Picture
What you’ll need:
Empty lipstick palette, I bought mine from Suesh for 800 pesos with a 10% discount.
Lipsticks
Candle
Spoon
Spatula
Alcohol
Paper towels

1. Start by sanitizing the palette, spoon, spatula and lipsticks. I simply sprayed 99% alcohol. You can use the regular 70% too.

2. Cut the lipstick directly onto the spoon, make sure you don’t cut all the way through when wells can’t hold the entire tube. You wouldn’t want to waste product.

3. Start melting your lipstick by placing the spoon on top of the lighted candle. Move the spoon in a circular motion while you do it and don’t burn/boil it!

4. Carefully pour the melted lipstick in an empty well and let it sit for a few minutes until it completely solidifies. You can pop it in the refrigerator for a couple of minutes if you want.

5. Repeat the process for the rest of your lipsticks.

Tips:
1. Matte Lipsticks take longer to melt, speed it up by cutting it into small pieces.
2. Wipe the bottom of the spoon before pouring the lipstick in the well. You wouldn't want to the black burnt residue on your palette.
3. Some lipsticks melt with a thin consistency while some are very thick (matte lipsticks). Consider this when cutting the lipstick.
4. Arrange the colors in the palette from lightest to darkest.
5. If you are the OC type and want it to look really clean, you can also pop it in the microwave for a few seconds. Keep the temparature low and check it every 15 seconds. You have to make sure that it is completely cooled down (let it sit for at least 20 minutes just to be on the safe side) before microwaving it. Be patient too, don’t take it out of the microwave until it solidifies again.
6. You can use any container when depotting your lipstick such as a pill box, stackable container or even an empty water color palette.
7. Label the palette so that you know what shade you are using. You can use the sticker from the bottom of the lipstick or write it on a plain white sticker. Stick on the palette!

1 Comment

How to: Depotting Eyeshadow

5/19/2013

0 Comments

 
Ever since I studied makeup, buying individual eyeshadows became unappealing to me. It’s inefficient to use them during gigs because it means opening a gazillion of eyeshadows each makeup session. Good thing I found an affordable customizable empty palette ala Z-Palette (rhymes!). It’s from Wild Peach Cosmetics and sells for only Php 550.00. It’s in black and has a matte finish. It’s very sleek and professional looking which is why I love it.
Picture
Here’s how I depotted my eyeshadows:

What you’ll need:
Empty Palette of course (Wild Peach Cosmetics)
Individual or mini eyeshadow palettes
Spatula or cutter or anything you could use to lift the eyeshadow pot from the packaging
Lighter or candle
Scissors

1. Remove any paper sticker from the bottom of your eyeshadow package. You don’t want the smell of burning paper.
2. Open the eyeshadow package and use the cover as your handle. Heat the bottom of the package to melt the glue. Depending on the thickness of the plastic, it could take about a minute to three minutes.
3. On a tissue paper lay the package flat and using a spatula, gently lift the eyeshadow pot from the package. Be extra careful not break the eyeshadow. Also take note that the pot is hot!
4. Remove any excess glue from the bottom of the pot/pan.
5. If your eyeshadow pot/pan is made of metal, simply let it cling on the magnetized palette otherwise you need to use the magnet sticker that came with the palette.
6. Arrange it anyway you want and voila, you’re very own customized palette! 

You may contact Wild Peach Cosmetics through their FB Page:
https://www.facebook.com/wildpeachcosmetics

0 Comments

How to: Personalized Brushes

5/1/2013

0 Comments

 
Picture
Makeup artists usually work with other makeup artists specially during fashion shoots or show. Often, you’ll find one with the same set of brushes as yours. To make sure that they don’t go to other MUA’s tool belt, by “accident”, personalize them. Here are the very simple steps:

1. You'll need a sticky tape, nail polish with the color of your choice and your brushes.
2. Wrap a tape around the bottom of your brush handle, leave some space where you'll apply the nail polish.
3. Apply the nail polish, don't worry about going over the tape.
4. Let it sit to dry. I suggest a minimum 5 hours if not overnight.
5. Once completely dry, carefully remove the tape.

And there you have it your very own personalized brushes!
0 Comments

    Archives

    December 2014
    May 2014
    April 2014
    March 2014
    February 2014
    January 2014
    December 2013
    November 2013
    October 2013
    September 2013
    May 2013
    April 2013

    Categories

    All
    Anything Goes
    Before And After
    How To
    Photoshoot
    Review

    RSS Feed

Powered by Create your own unique website with customizable templates.