+63 917 655 3148
Makeup by Liz Blasquino
  • HOME
  • PORTFOLIO
    • BEAUTY
    • BRIDAL
    • DEBUT
    • NO MAKEUP LOOK
    • ARTISTIC
    • MEN
  • ABOUT
  • BLOG
  • RATES
    • STANDARD RATES
    • BRIDAL PACKAGES
    • DEBUTANTE PACKAGES
    • MAKEUP CLASSES
  • CONTACT

9 Works Thetrical's Grease! (MAC Sponsored Event)

12/15/2014

0 Comments

 
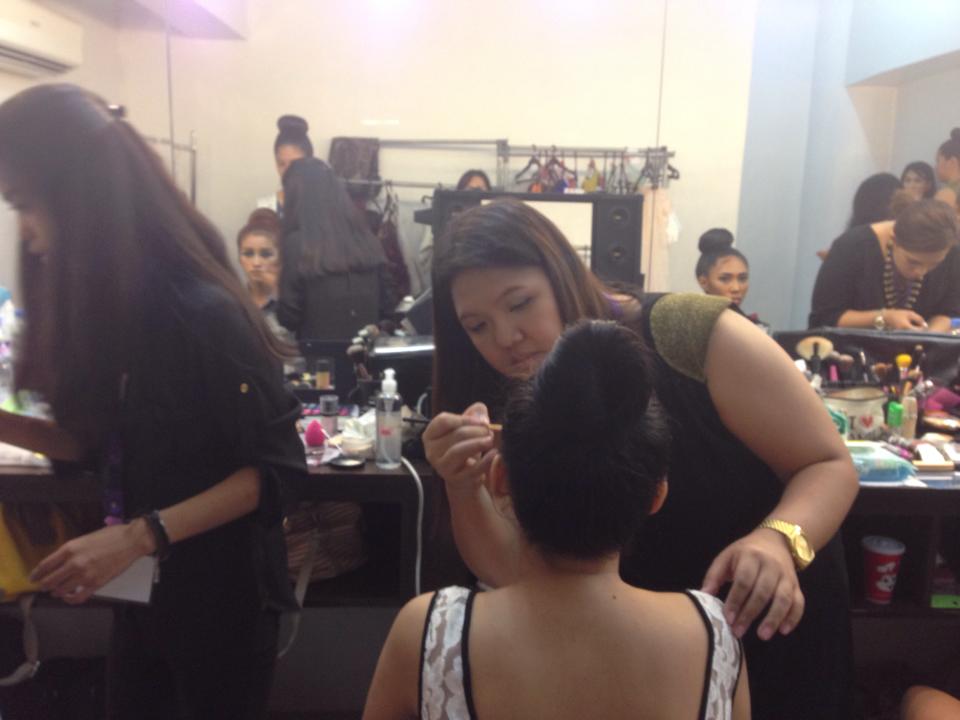
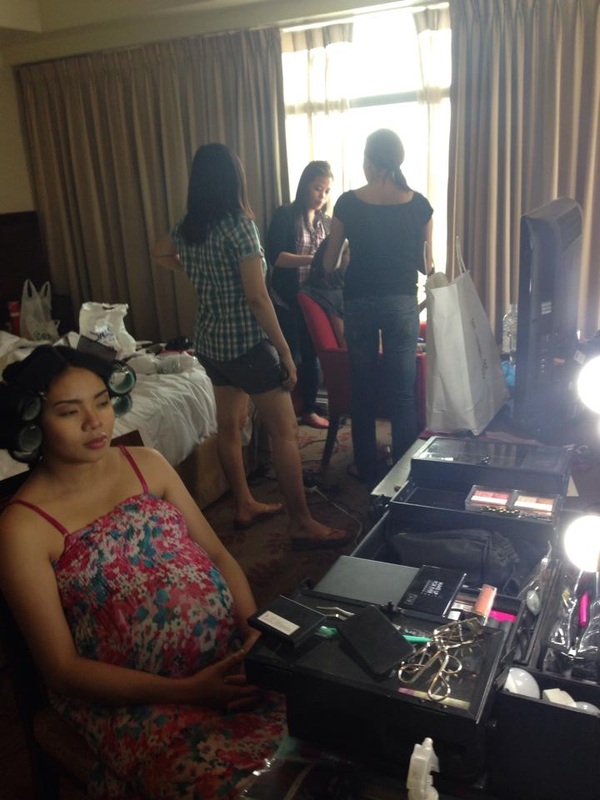
Earlier in October, I auditioned to do makeup for MAC sponsored theater productions. I have always loved working for MAC and when the opportunity came, I just had to grab it. Fortunately, my newly discovered talent (It's just about a little over a year and a half that I started making some living out of doing makeup) didn't fail me and I was one of the few who went through.

Being new to stage or theater make up, I found it really exciting. We had to undergo a short 'workshop' with a MAC affiliate artist and a product overview with the MAC artist relations. 

There we're two productions, Imaginarium and Grease but I ended up just getting the latter due to conflict in schedule. 

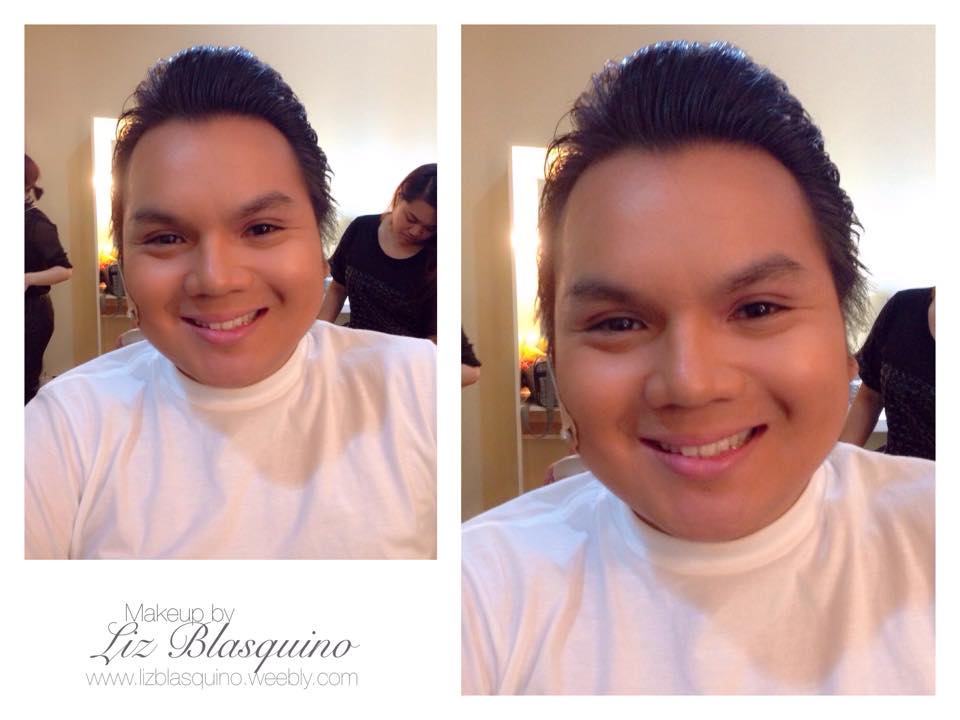
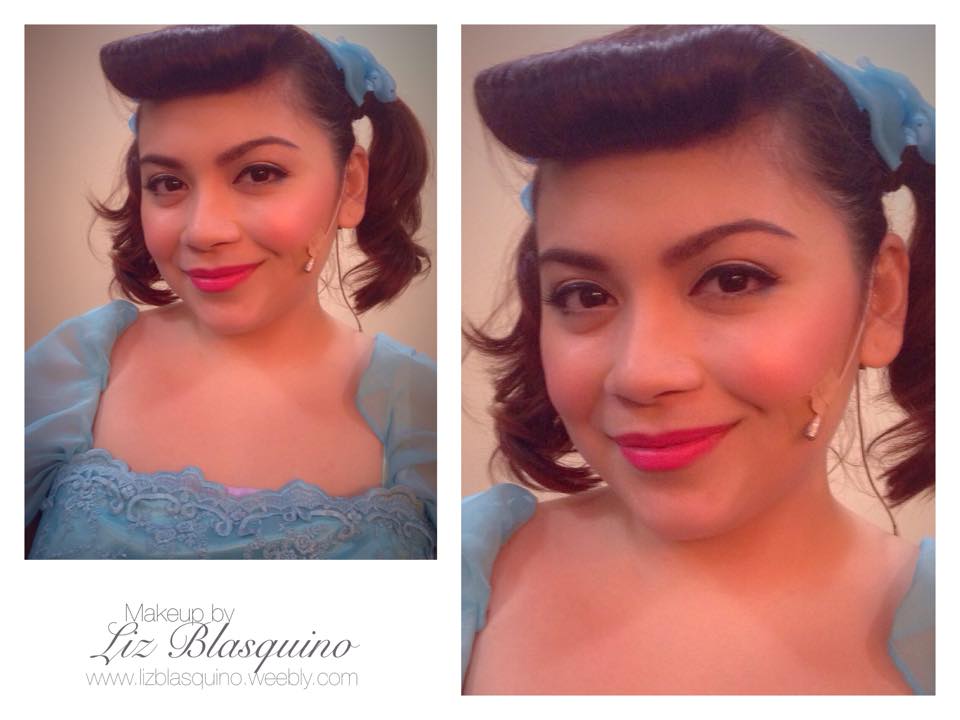
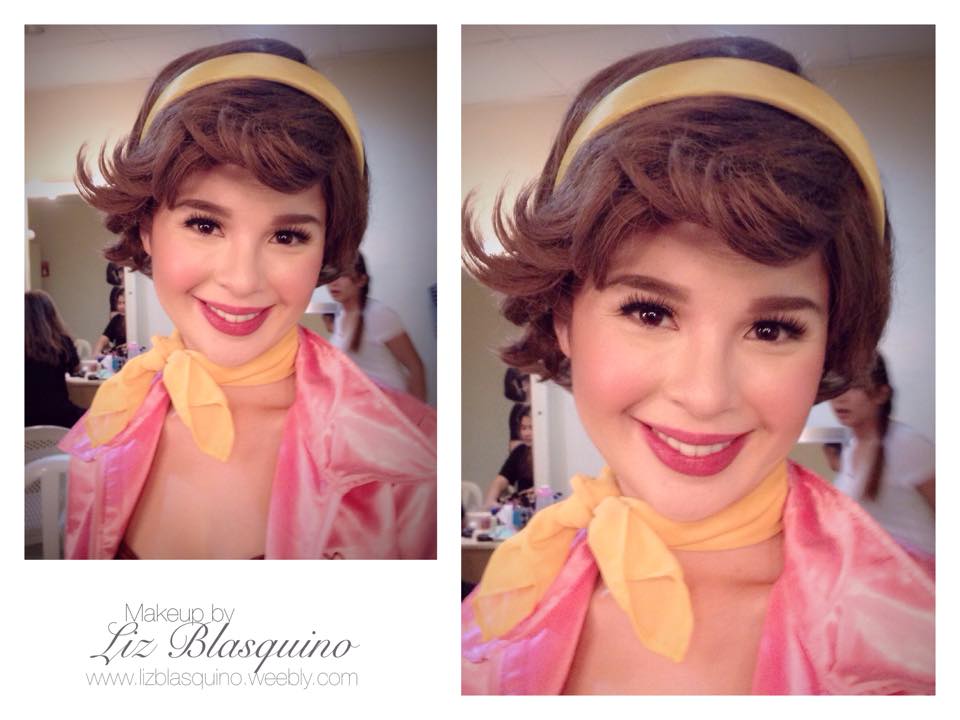
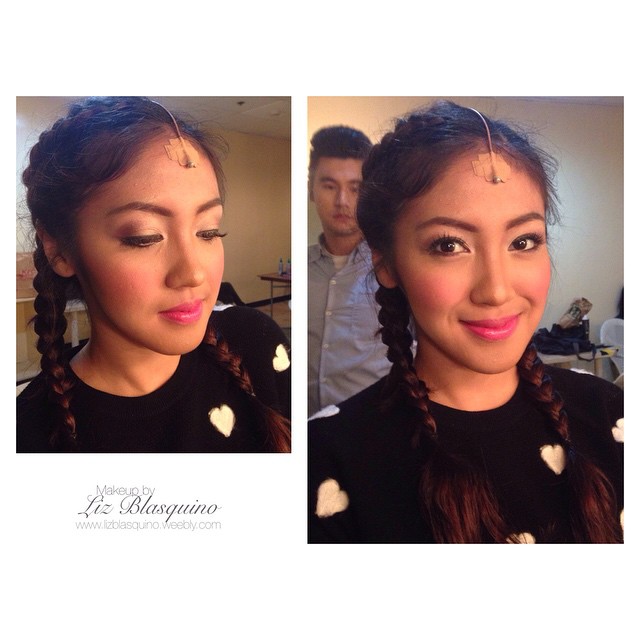
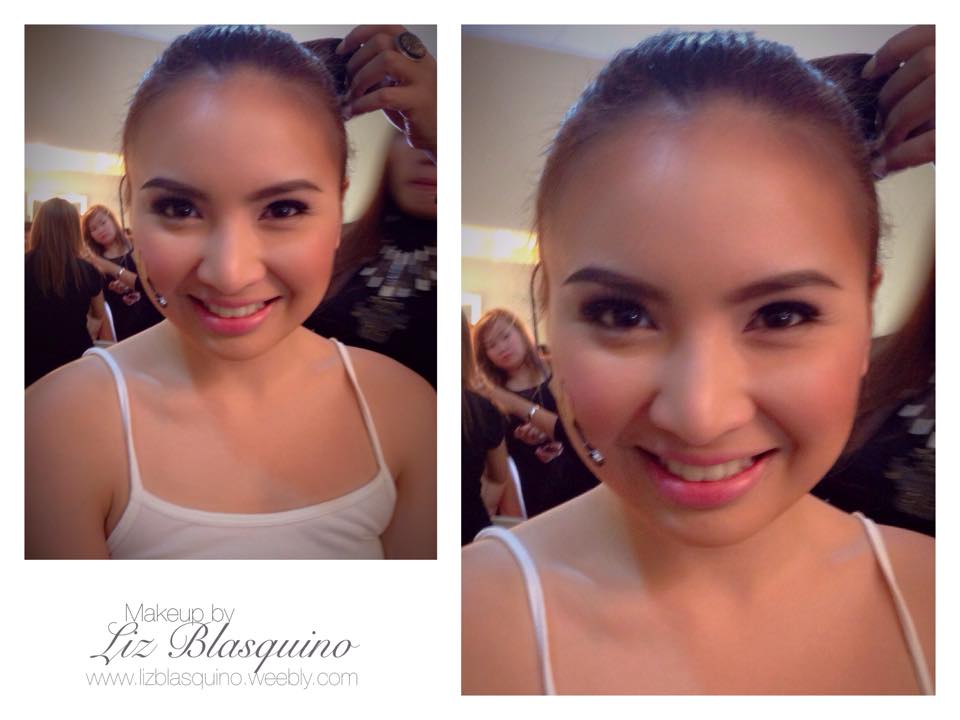
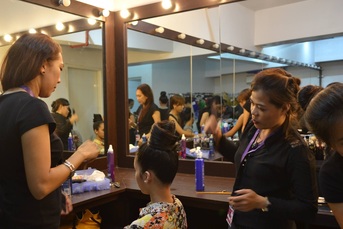
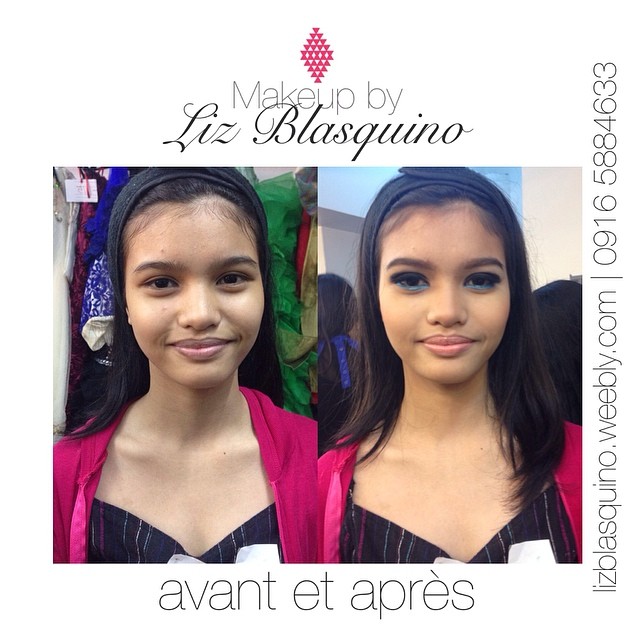
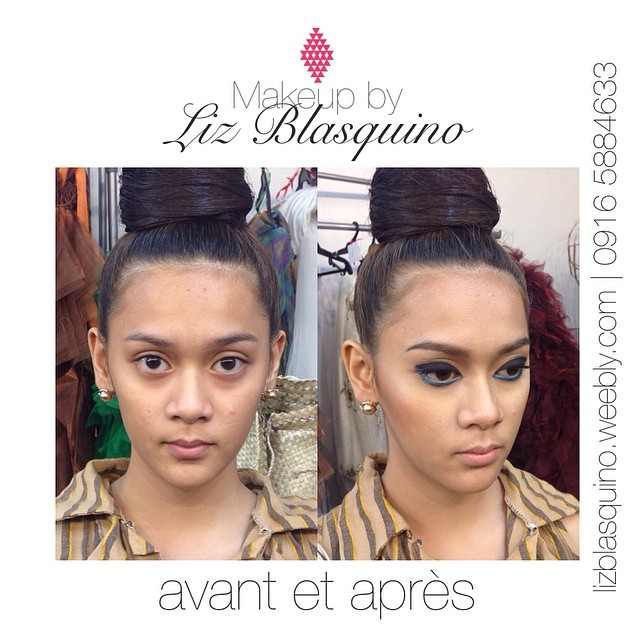
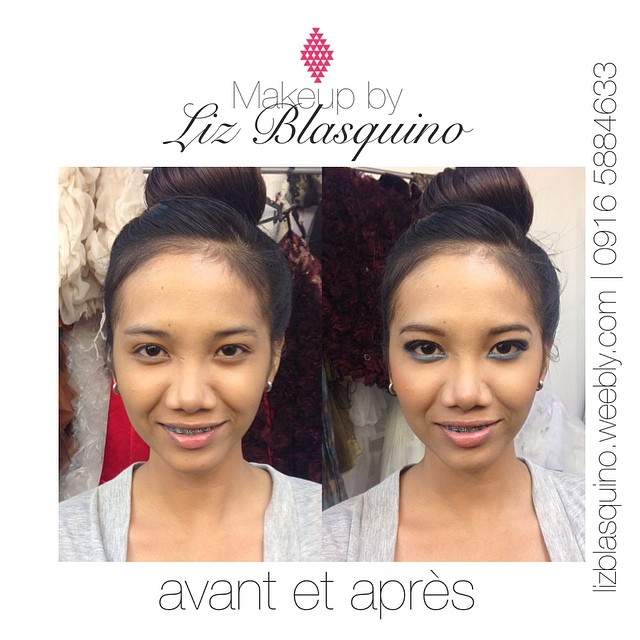
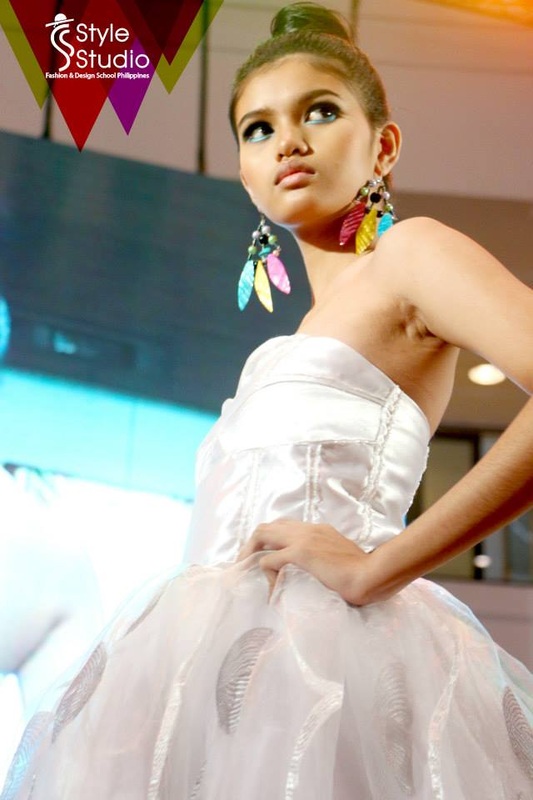
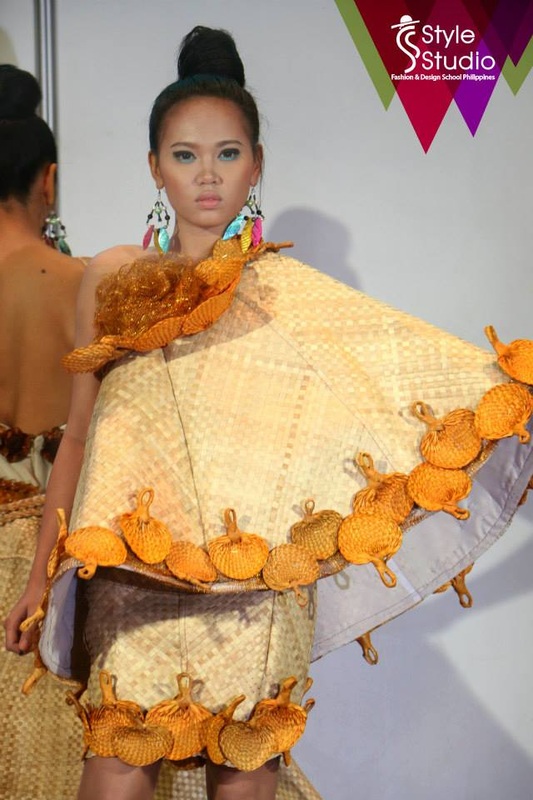
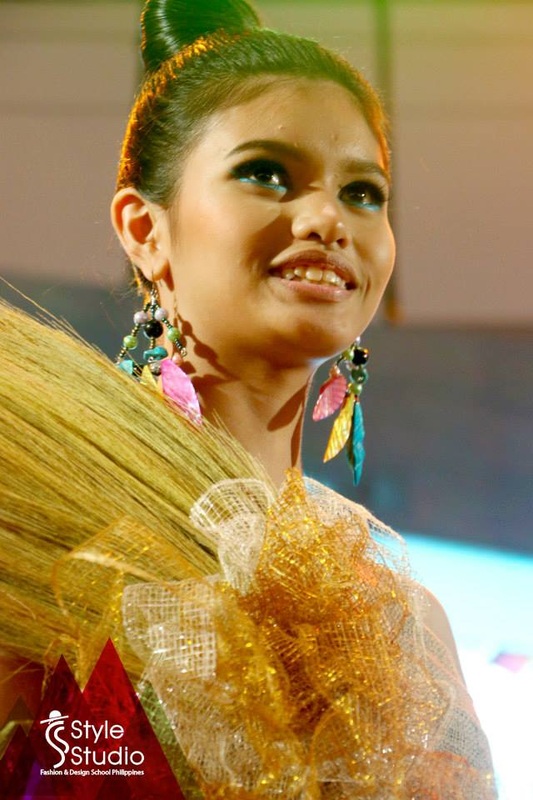
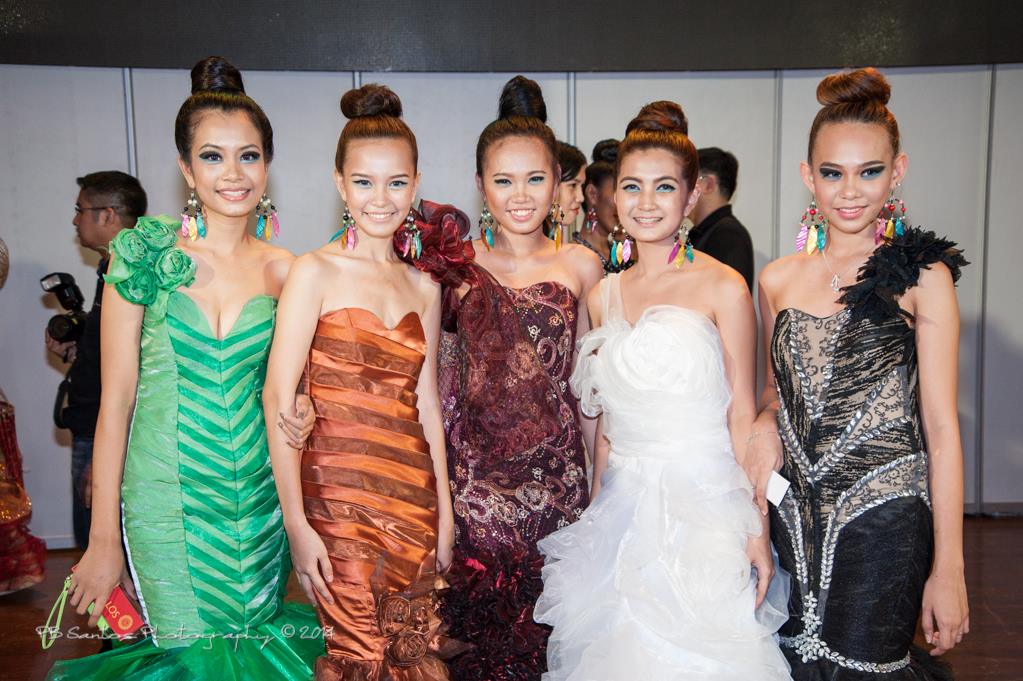
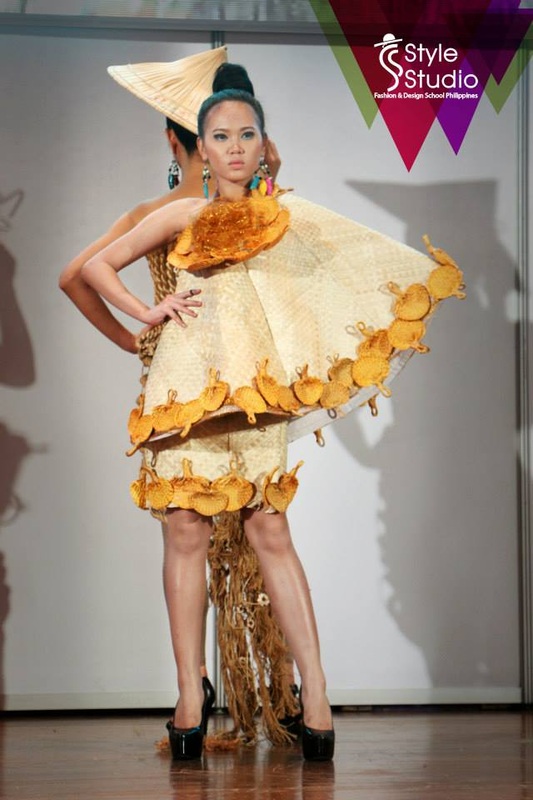
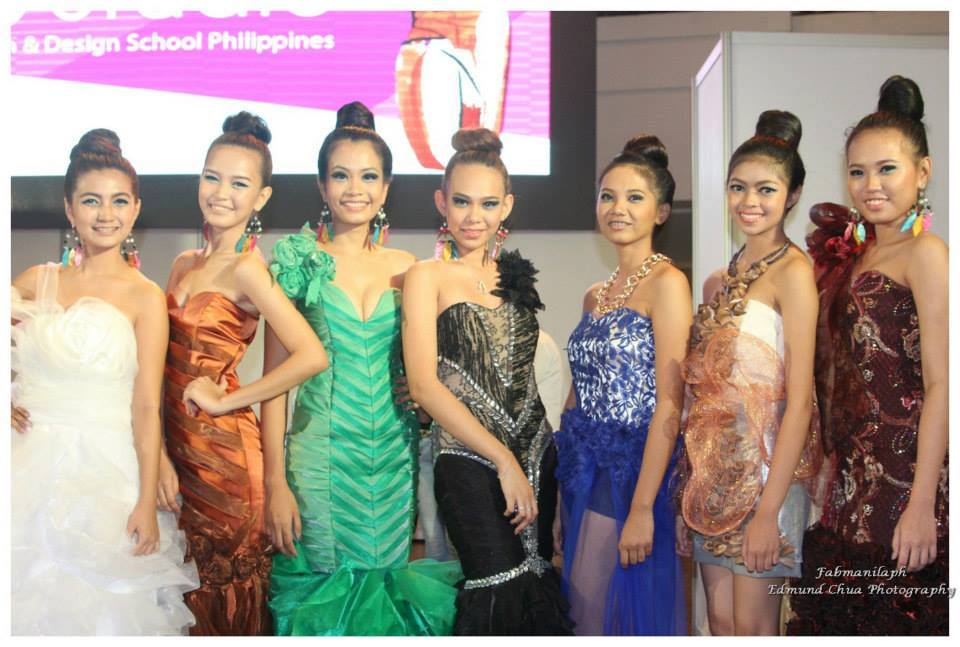
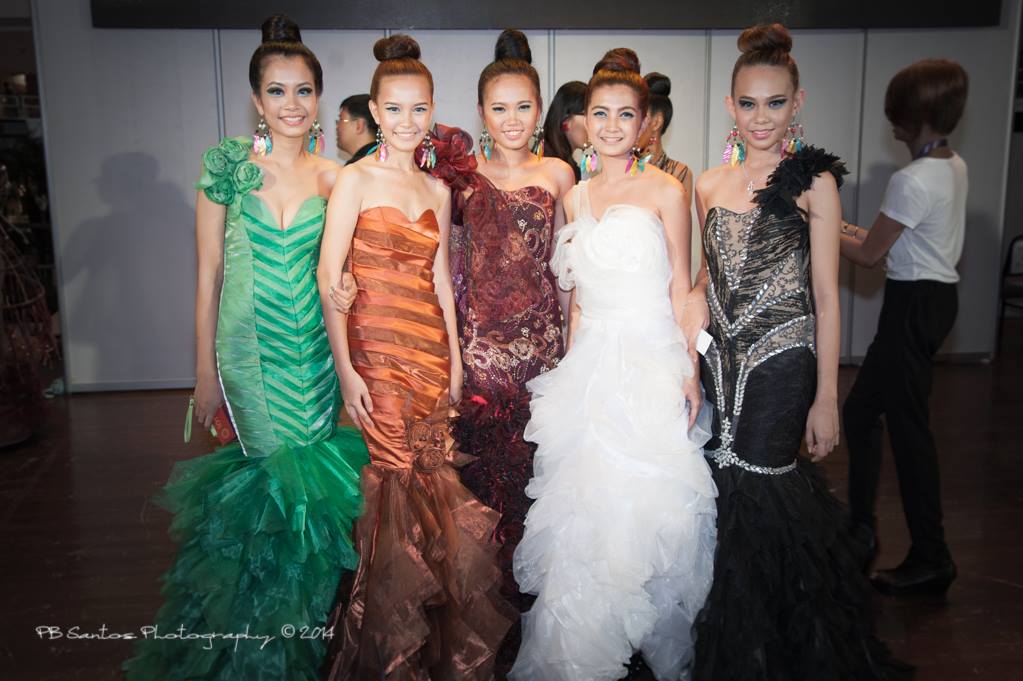
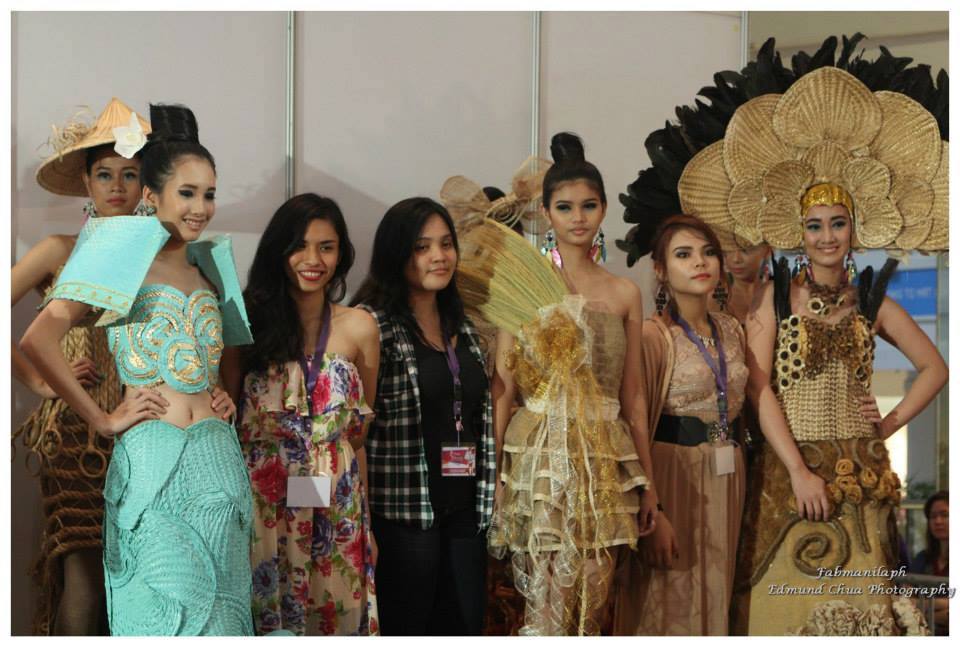
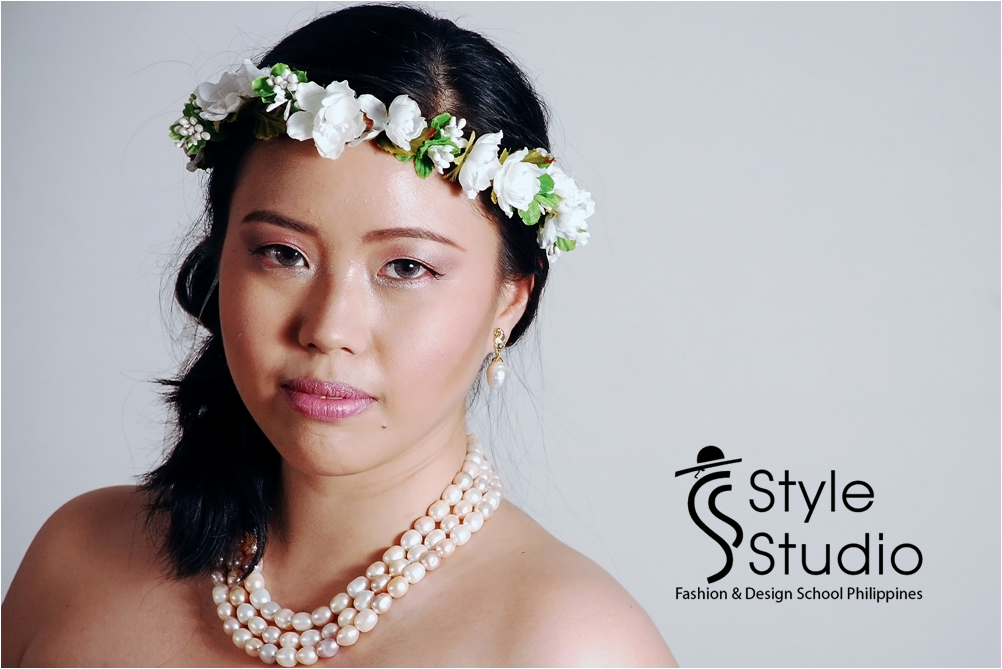
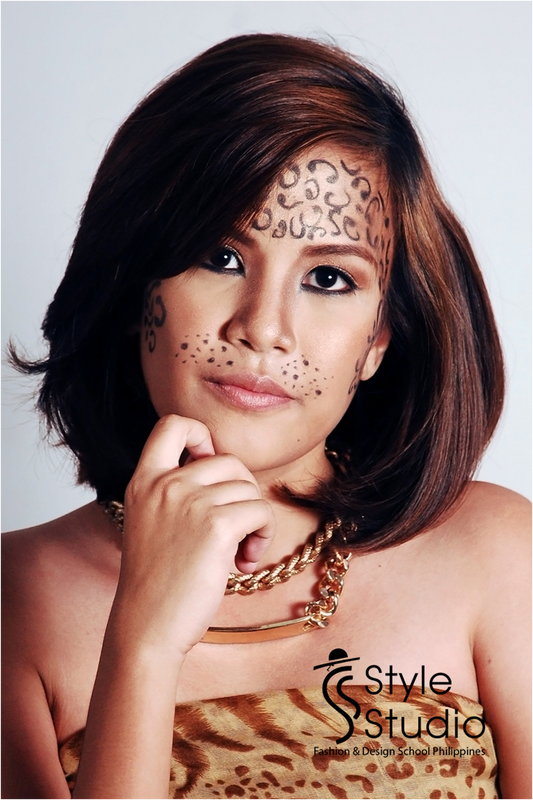
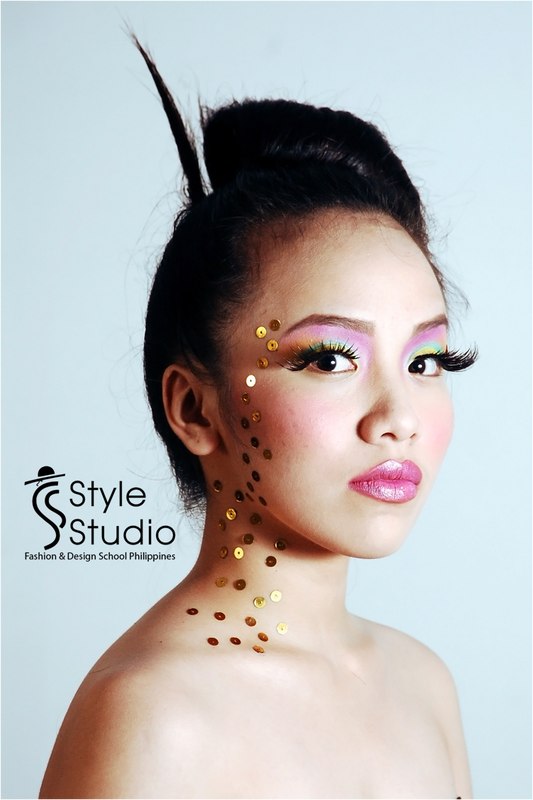
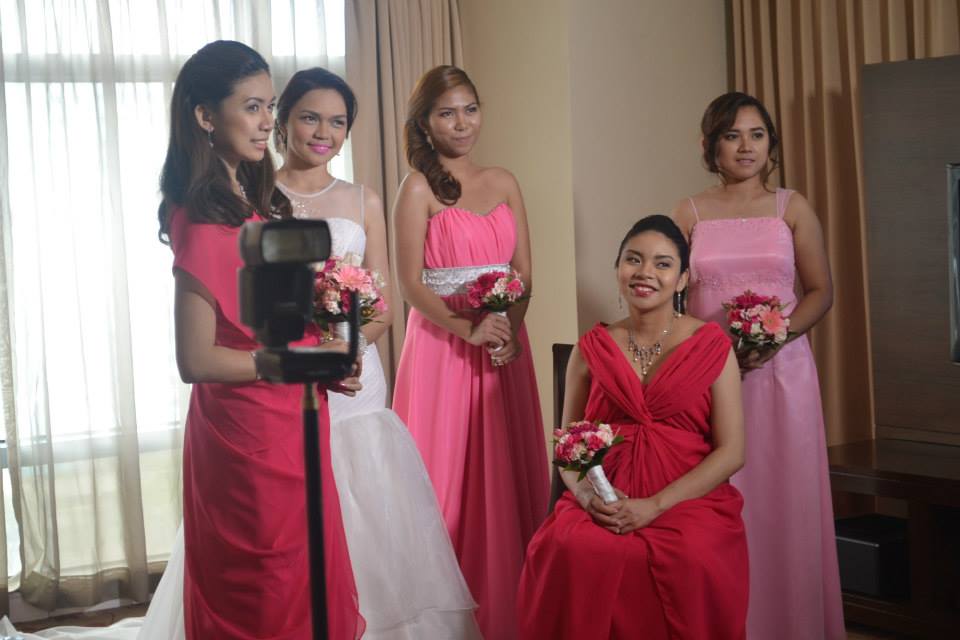
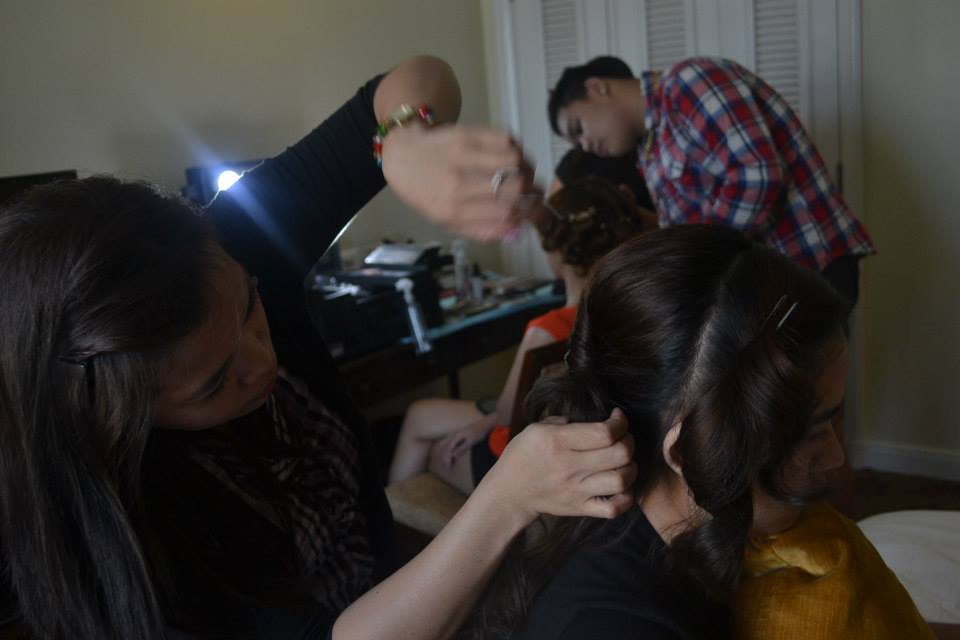
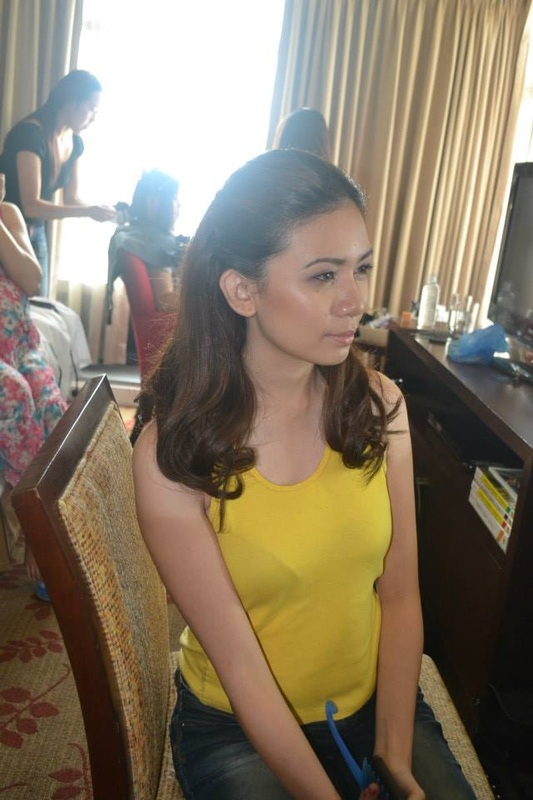
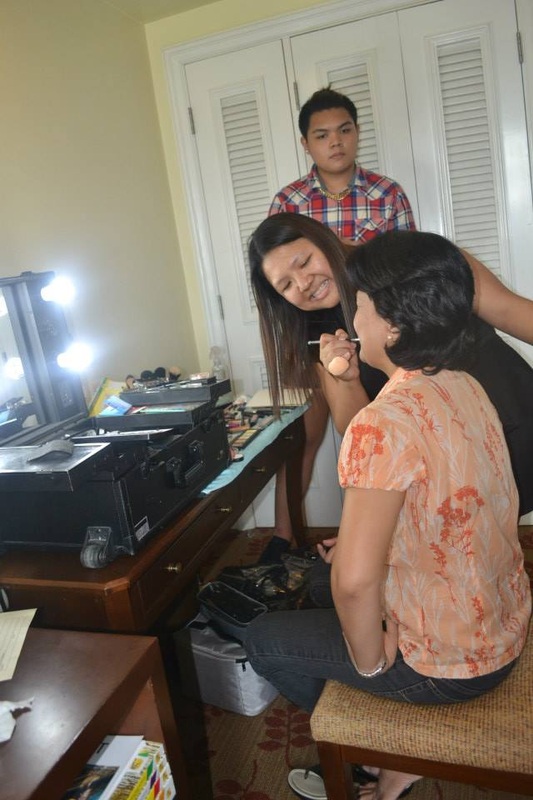
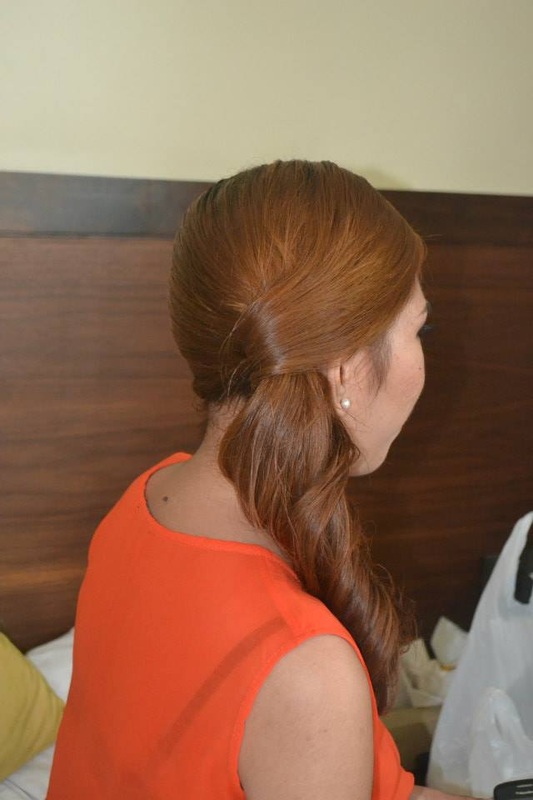
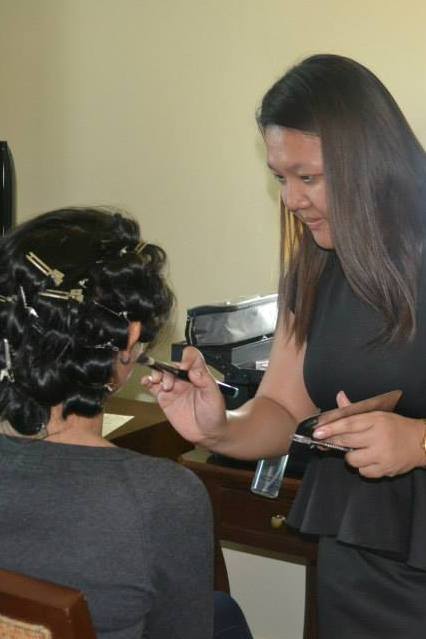
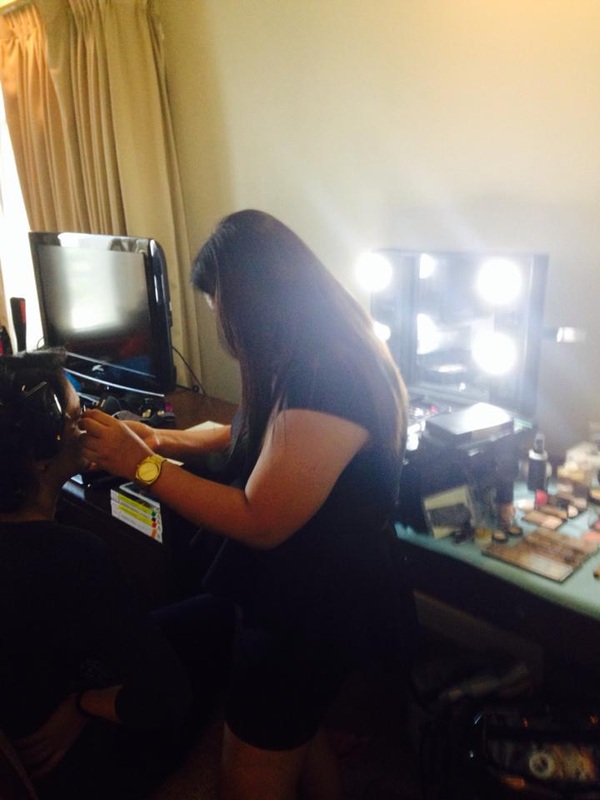
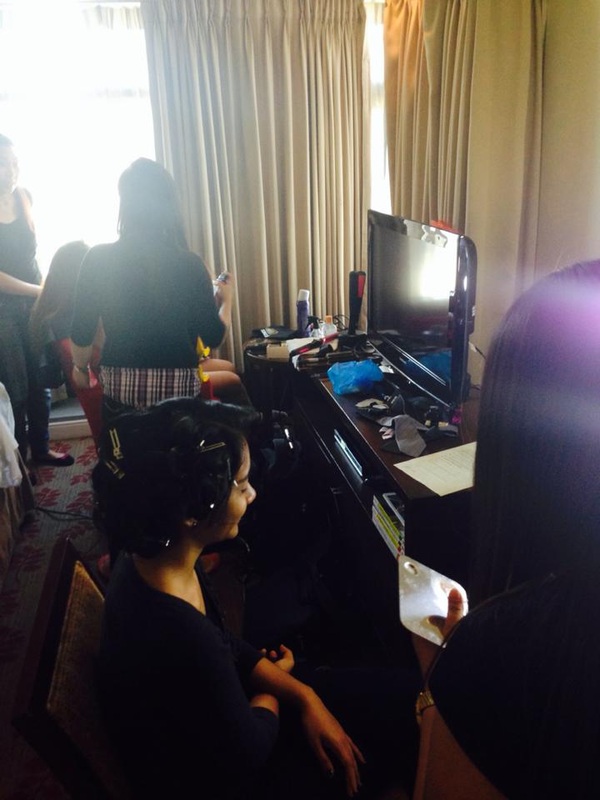
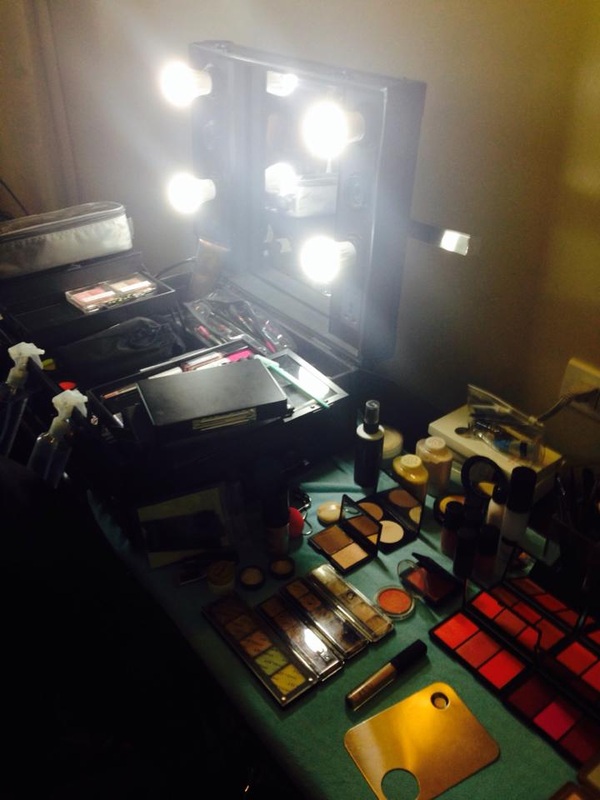
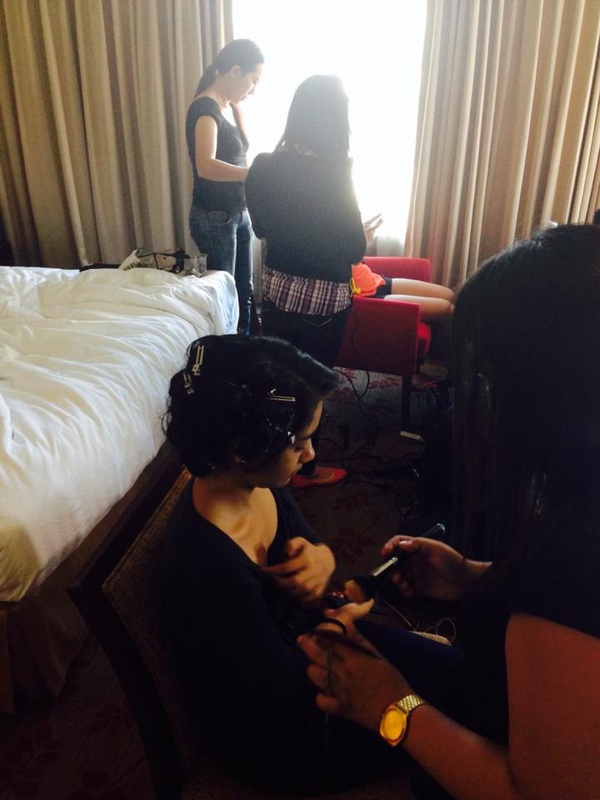
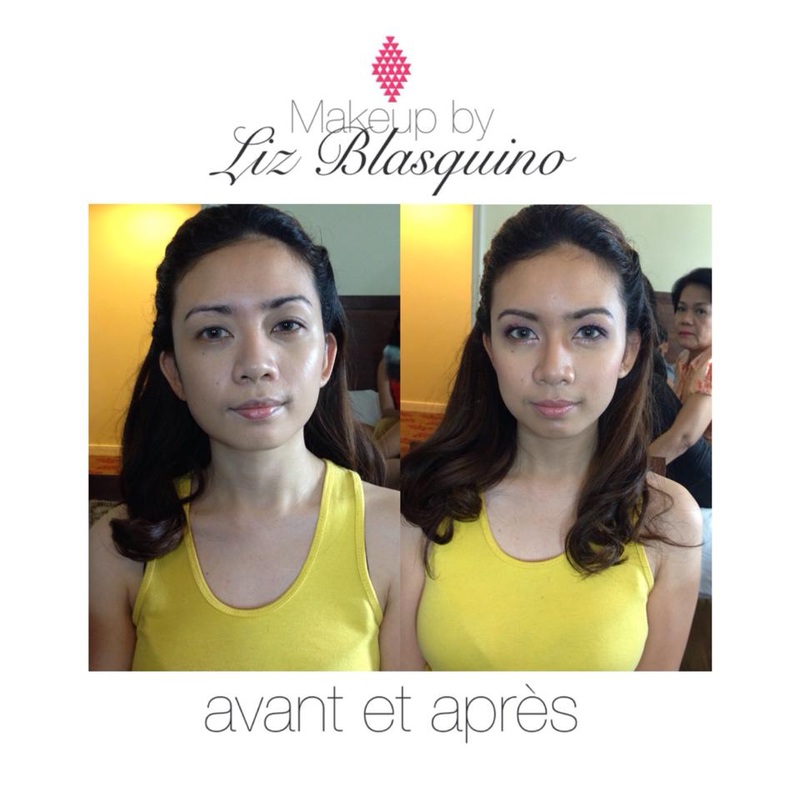
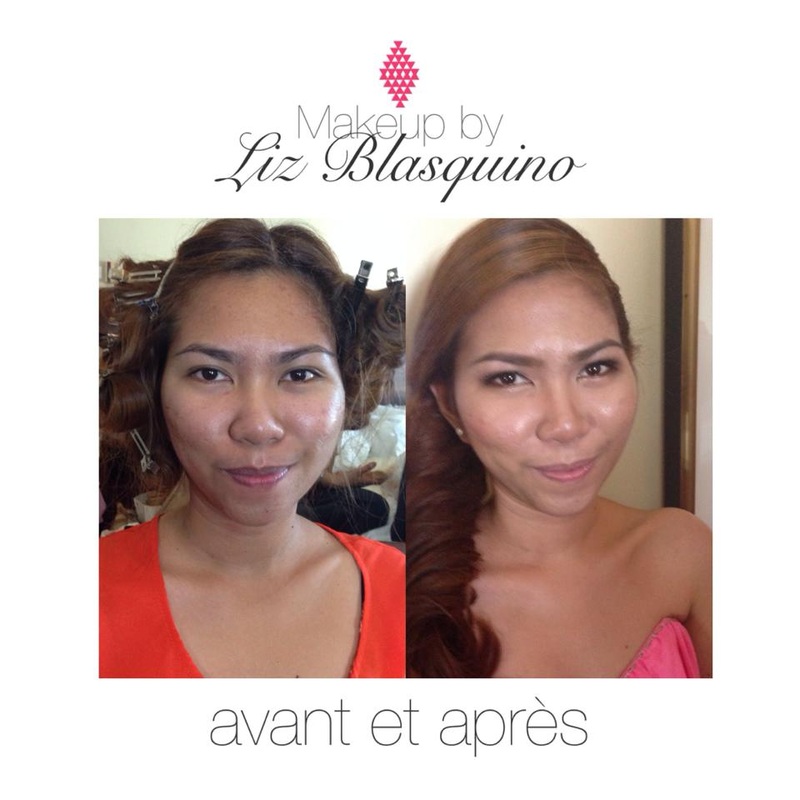
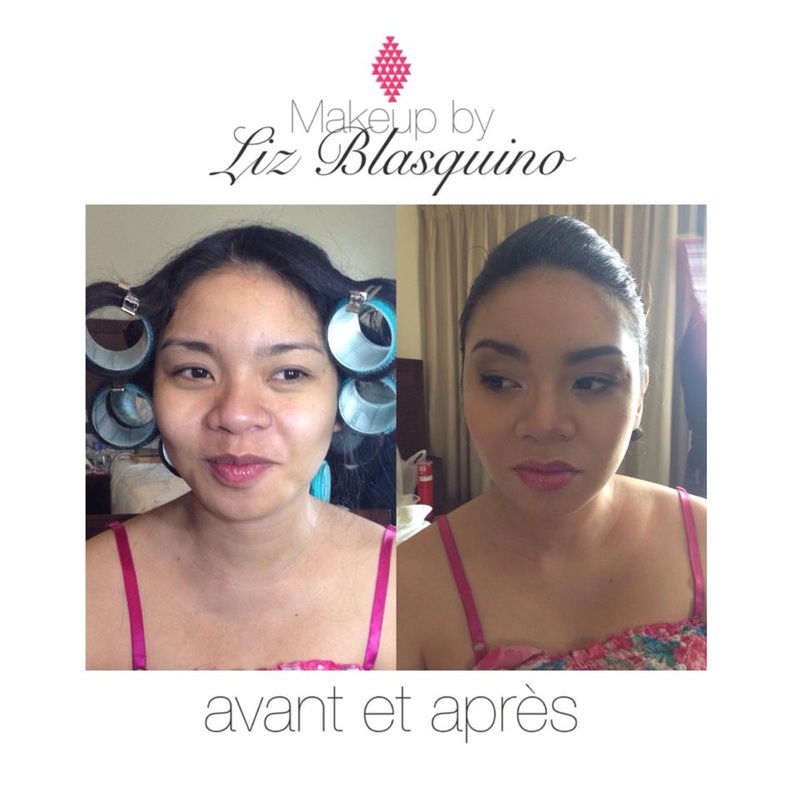
Here are some of my works:
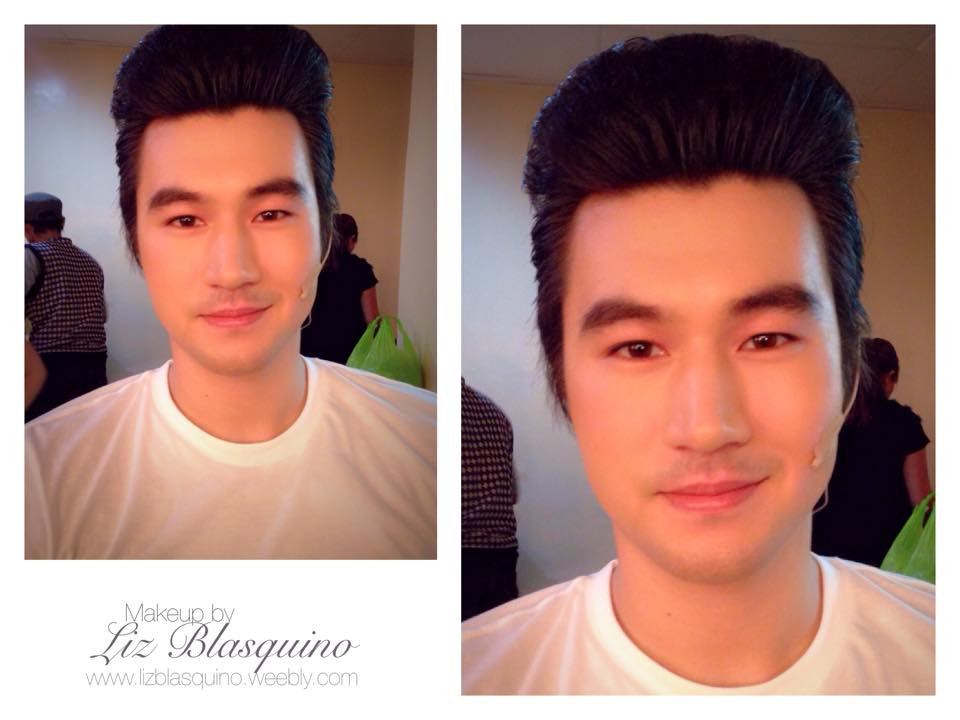
Also had the chance to work on the talented Teen Angel, Sir Michael De Mesa. 
Picture
0 Comments

Style Studio hits the runway!

5/7/2014

0 Comments

 
Last Friday, May 2, 2014, the Style Studio Fashion and Design School had a fashion show that showcased the works of their students. It featured gowns and indigenous creations. 
Picture
Being the makeup instructor for Style Studio, I had to head the hair and makeup team. This also allowed me to look over my student's OJT. I suggested a big high-top bun for the hair as I find this to very simple yet glamorous. I was inspired by the Chanel's Resort 2014 runway makeup. This is what I decided to use as an inspiration because not only is it very trendy, it is also very appropriate for the Philippine's summer season. Each makeup artist who worked on the model has interpreted the peg differently, the same goes for my work which is what we aim to do. We don't want to copy the peg to the tee but we allowed each makeup artist to interpret the look themselves.

Please note that these photos aren't mine and copyright is owned by their respective photographers.
Picture
Big high-top Bun
Picture
Chanel Resort 2014 runway makeup
The Hair and Makeup Team is composed of Myself, Style Studio Students (Anne Bismonte, Mitch Saldanha and Marriz Ranola), Anya Ricafort, Jhacque Vitalich, Anne Capellan, Aileen Sargado and Rhed Soriano.
Picture
Picture
Picture
Picture
From left to right: Anya Ricafort, Anne Capellan, Liz Blasquino(me), Aileen Sargado
Here are some behind the scenes action of the Hair and Makeup Team:
Picture
Picture
Picture
Picture
Here are the before and after photos of the models I made up (grabbed from Instagram):
Picture
Picture
Picture
Picture
Here are some photos of the models I've worked on (copyright is owned by the respective photographers):
Picture
Picture
Picture
Picture
Picture
Picture
More photos from the show - again copyright is owned by the respective photographers.
Picture
Picture
Picture
Picture
Picture
Picture
Picture
Picture
There are still shows that will run on May 15 and 17, 2014, more updates will follow.
0 Comments

Inglot Duraline: An amazing all-in-one product

4/24/2014

0 Comments

 
I was on a hunt for a solution to resurrect my gel liners. You see, I own different gel liners from different brands. And whether or not they're expensive, they all end up getting dried up. I've seen and tried different ways to revive gel liners but all failed! Here are some of the things I've tried:

  1. The heating method - This is when you apply direct heat onto the product using any of the ff: blower, hair iron, microwave. This made my MAC fluidline worst! :( But it slightly worked for my Maybelline one but was only okay for a good 4 or 5 days.
  2. Using eyedrops - You put a couple of drops of Eye-mo or Visine - the classic one. It's meant to bring moisture back to product. This method didn't work too! 
  3. Using a silicone based primer - This one worked the best but didn't last long - a week I think. And I find that it diffuses the pigmentation of the product. Sigh.
Picture
Picture
And because I am persistent like that, I came across the Inglot Duraline. Duraline is a special transforming liquid that will turn any Inglot powder eyeshadow into a liquid formulation. This product comes in a 9 ml (.30 us fl oz) glass bottle with a push-button dropper. If I remember correctly, I got this for Php 799 at the Inglot Store in Glorietta 5.I am no chemist but I went a little geek-y to check the ingredients , so here is the breakdown:

Picture
Picture
ISODODECANE - Hydrocarbon ingredient used as a solvent. Isododecane enhances the spreadability of products and has a weightless feel on skin. All hydrocarbons used in cosmetics help prevent the evaporation of water from the skin.
BIS-VINYL DIMETHICONE/DIMETHICONE COPOLYMER - The novel copolymer provides the formulation chemist with an alternative to crosslinked silicones for developing aesthetically pleasing cosmetics while minimizing patent concerns
CAPRYL GLYCOL - Skin-conditioning agent that may be plant-derived or synthetic. Often used as part of a preservative blend with phenoxyethanol and chloroxylenol, two preservatives that meet current global regulations.
PHENOXYETHANOL - In the cosmetics industry, Phenoxyethanol is used as a stabiliser in perfumes and as a preservative.It’s an oily, colourless liquid that belongs to the family of the glycol ether.
HEXYLENE GLYCOL - small molecular weight surfactant.

In all honesty, I don't know what good that brought (nosebleed!). Remind me not to be geek-y again because clearly I am not! Kidding aside, it helps in adding moisture back to the product, also the silicone hence improving the consistency of your dried up gel liners.

If you are wondering how I revived those gel liners, read on..

What you'll need:
Picture
  • A dried up Gel Liner, pain pot, cream liner, etc
  • Spatula or anything that you can use to mix the product
  • Of course, Inglot Duraline
Picture
Add 2 to 3 drops of Duraline directly into the product.
Picture
Using your Spatula, mix the product really well. Make sure to break down all the clumps from the gel liner. Feel free to add more drops depending on how dehydrated your gel liner is.
Picture
Get a brush and test if the consistency is good enough for you.
What I liked most about this product is that it has intensified the pigmentation of my gel liner. Aside from reviving your gel or cream based products, you can also use it to turn any eyeshadow to a liquid liner. I tested it using my Urban Decay Vice Palette and it works like a charm. It also made it water and budge proof.

I am absolutely in love with this product and if I ever ran out of it, I am sure to repurchase.
0 Comments

The Educator: Style Studio's Artistic Makeup Course

4/15/2014

1 Comment

 
Last February, I accepted a teaching gig with Style Studio Fashion and Design School in Makati. The classes were held every Saturday (1 to 5 PM) which ran for a total of 7 Saturdays. This is a short course with just 28-clock hours but very comprehensive. It was an intimate set up with just three students so I was really able to observe each of their work and give  real-time feedback.

I am proud of my students because they have evolved from someone who likes makeup to a blossoming artist. Here's a peek at their portfolio:
And here is our class photo, that's me looking really proud. Ha! :)
If you are interested to join my upcoming class, please direct your inquiries to Style Studio Fashion and Design School Philippines. Here's their contact information:

www.fashiondesignschoolphilippines.com

Tel. Nos.:
(+632) 889.74.84
(+632) 782.72.31

Mobile:
(+63917) 471.36.43

Manila Branch:
Unit 2003 Tower A. Skyland Plaza,
Corner Tindalo St. and Senator Gil Puyat Ave.(Buendia)
Makati City, Philippines

Their courses can be found here:
www.fashiondesignschoolphilippines.com/courses-fashion-makeup


1 Comment

The new Anastasia Dipbrow Pomade

3/30/2014

0 Comments

 
I ran out of my favorite brow product, the Mac Brow Pencil in Spiked. I always have two shades in my kit, the infamous Lingering (light shade) and Spiked (dark shade). I find this as an opportunity to try a new product hence the Anastasia Dipbrow Pomade. The brand Anastasia Beverly Hills is known for creating the best brow products in the market and is a favorite among makeup artists. From their best selling brow wiz they have evolved and has been the industry leader in introducing innovative brow products.
Picture
The Anastasia Dipbrow Pomade in (from top to bottom) Blonde, Chocolate and Ebony.

Read More
0 Comments

What's in my professional makeup kit?

3/20/2014

0 Comments

 
Ever since I started doing freelance makeup, I get asked a lot about the makeup products I use. Today, I will be sharing a comprehensive list of the products and tools I use including my makeup traincase. The products I use are carefully chosen, well because they don't come cheap. You will notice that I don't tend to gravitate to a single brand. Most of it (I think) are professional quality but I also have quite a few drugstore products that I feel really performs well. Before, you start scrolling be warned that this is a picture heavy post. The photos are not the best of quality as they are only taken using my iphone.  Also, I don't have a lot yet as I am still building my kit. Enjoy!

Disclaimer:
This post is intended to showcase the products I use as a professional makeup artist and not to brag. This gives my potential clients a glimpse of the products I will use on them. This will also help other budding makeup artist an idea of what should be in their pro kits.


Picture
Picture
I have a black leather traincase/makeup station with trolley. The size is 3XL and is made by Sunrise, the model is BF-495BT-1. You can find more info about this case in the link below:
http://shopwiserphilippines.com/product/xxxl-black-make-box-train-case-makeup-box

Read More
0 Comments

Hair and Make up for the entourage of Ryan and Christine

3/16/2014

0 Comments

 
Sharing some photos (grabbed from Aileen) for the entourage makeup I did last Saturday. I made up six lovely ladies and was assisted by Gelo dela Rosa. Hair was done by Anne Capellan (https://www.facebook.com/anne.capellan?fref=ts) and Aileen Sargado (https://www.facebook.com/apostrero).

Below are some of the before and After photos I posted on IG:
0 Comments

Wordpress to Weebly

3/11/2014

0 Comments

 
After days of contemplating, I have finally decided to move my website from Wordpress to Weebly. I find that its more professional looking and so much easier to navigate. Here's a glimpse of how my site used to look like: 
Picture
Sad and amateur-ish! Anyways, I just wanted to share this with you. I am very proud of what I've accomplished on this site. I am moving the rest of my blog contents in the coming days. Tata for now!
0 Comments

Before and After: Ms. Aphrodite

2/22/2014

0 Comments

 
Picture
Hair and makeup for Filipino-Greek Aphrodite. I didn’t go crazy on the concealer because she’s just 17.
0 Comments

How to: Lipstick Palette

2/21/2014

1 Comment

 
A few months back, I posted a how to on depotting an eyeshadow. This time around, I decided to do the same for my lipsticks. Mind you, I tried and tried and tried to delay it because the thought of cutting the lipstick off the tube seems like cutting a finger (okay maybe that’s too much but you get the picture).

One of the many reasons why I did it is because it’s a pain to rummage through every lipstick when I am on a gig. I also tend to forget some of the lipstick I own as they are just sitting on my kit.

Picture
What you’ll need:
Empty lipstick palette, I bought mine from Suesh for 800 pesos with a 10% discount.
Lipsticks
Candle
Spoon
Spatula
Alcohol
Paper towels

1. Start by sanitizing the palette, spoon, spatula and lipsticks. I simply sprayed 99% alcohol. You can use the regular 70% too.

2. Cut the lipstick directly onto the spoon, make sure you don’t cut all the way through when wells can’t hold the entire tube. You wouldn’t want to waste product.

3. Start melting your lipstick by placing the spoon on top of the lighted candle. Move the spoon in a circular motion while you do it and don’t burn/boil it!

4. Carefully pour the melted lipstick in an empty well and let it sit for a few minutes until it completely solidifies. You can pop it in the refrigerator for a couple of minutes if you want.

5. Repeat the process for the rest of your lipsticks.

Tips:
1. Matte Lipsticks take longer to melt, speed it up by cutting it into small pieces.
2. Wipe the bottom of the spoon before pouring the lipstick in the well. You wouldn't want to the black burnt residue on your palette.
3. Some lipsticks melt with a thin consistency while some are very thick (matte lipsticks). Consider this when cutting the lipstick.
4. Arrange the colors in the palette from lightest to darkest.
5. If you are the OC type and want it to look really clean, you can also pop it in the microwave for a few seconds. Keep the temparature low and check it every 15 seconds. You have to make sure that it is completely cooled down (let it sit for at least 20 minutes just to be on the safe side) before microwaving it. Be patient too, don’t take it out of the microwave until it solidifies again.
6. You can use any container when depotting your lipstick such as a pill box, stackable container or even an empty water color palette.
7. Label the palette so that you know what shade you are using. You can use the sticker from the bottom of the lipstick or write it on a plain white sticker. Stick on the palette!

1 Comment
<<Previous

    Archives

    December 2014
    May 2014
    April 2014
    March 2014
    February 2014
    January 2014
    December 2013
    November 2013
    October 2013
    September 2013
    May 2013
    April 2013

    Categories

    All
    Anything Goes
    Before And After
    How To
    Photoshoot
    Review

    RSS Feed

Powered by Create your own unique website with customizable templates.